Using nHair
Let me preface this by saying nHair is a tricky beast when you’re looking to beautify your own beasties. I kept learning and struggling and learning so much about it all throughout my senior year, and I now feel confident enough to share a bit about what I’ve learned. For various reasons I did not use Xgen for this project. Note that is is full documentation for most attributes and buttons in the nHair menu, so for the most part I will be skipping definitions and going straight for the technique.

Part 1: Creating Follicles
Follicles, just like on your own head, have a set location on your object. So keep in mind wherever you place them, they will move with that exact location. So if you need to adjust the shape of your mesh after the fact, your follicles will follow the new shape as well as long as you’re not messing with the UV coordinates. This is helpful because within your pipeline (if you’re on a team, which is likely) the object will change as you progress. Additionally you can also “transplant” follicles to a new object if you find it necessary.
Technique: The first way to create follicles is to simply use the “Create nHair” button. This floods the mesh with an even coat of follicles in accordance to what your set the U/V density. This can be most helpful if you have a bad UV layout (which you should definitely fix!) because there is an option to ignore UVs.
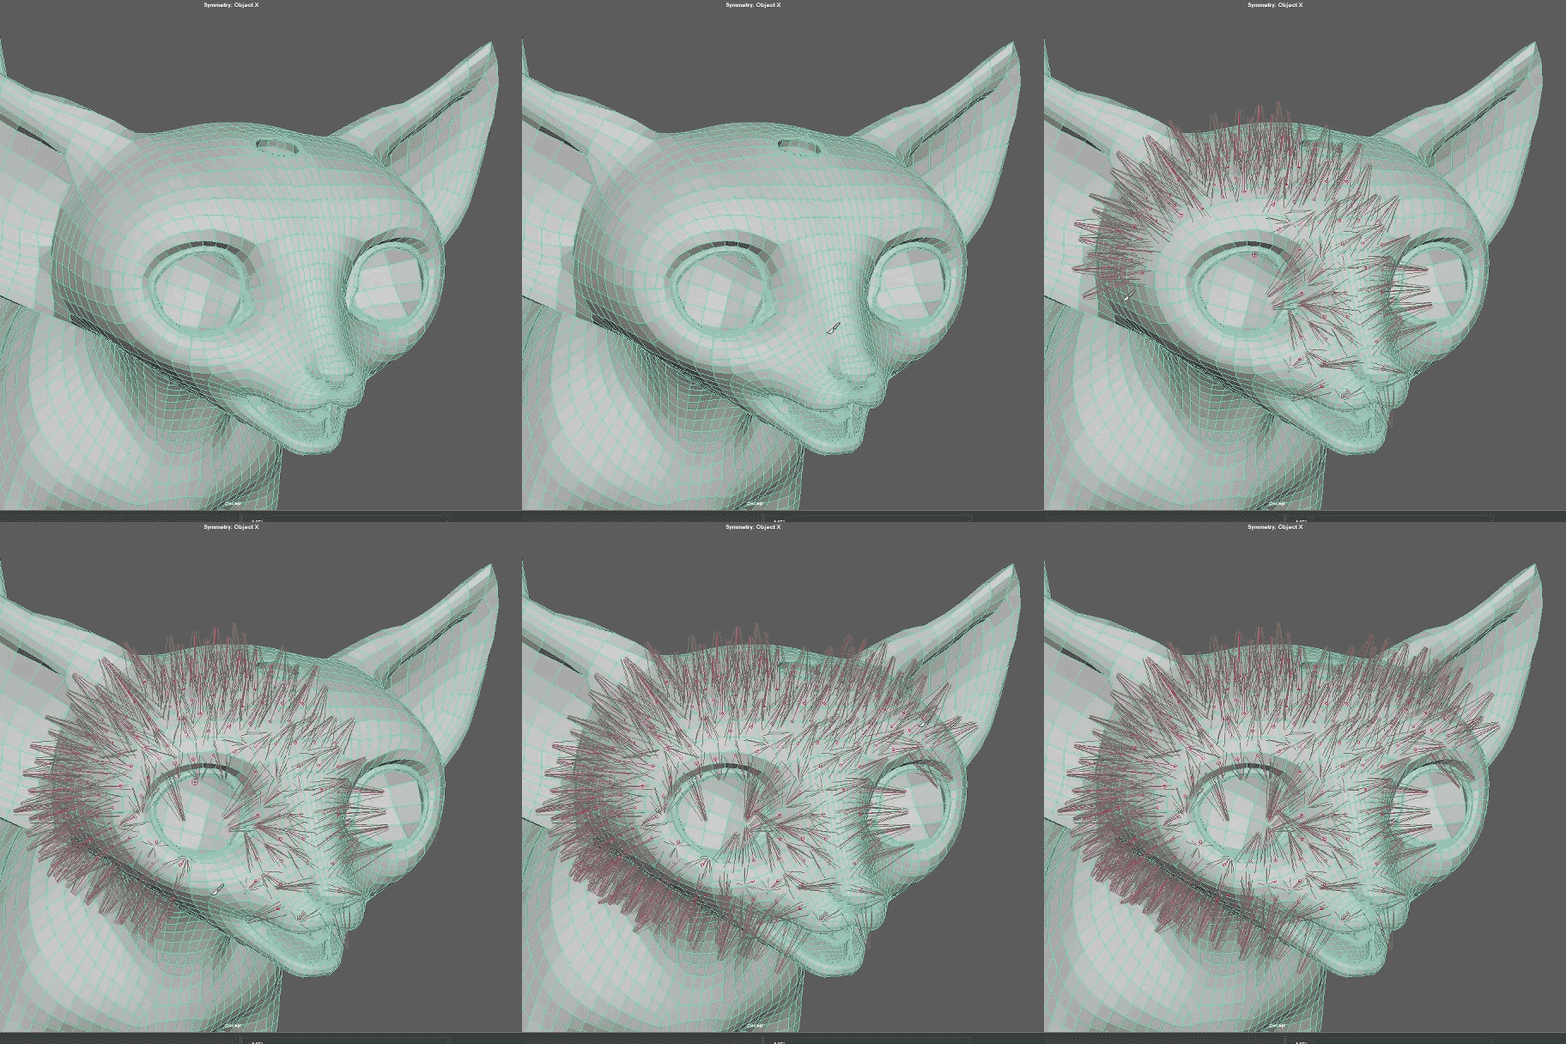
However, the better way to add follicles is to paint them in.

Part 2: Grooming nHair
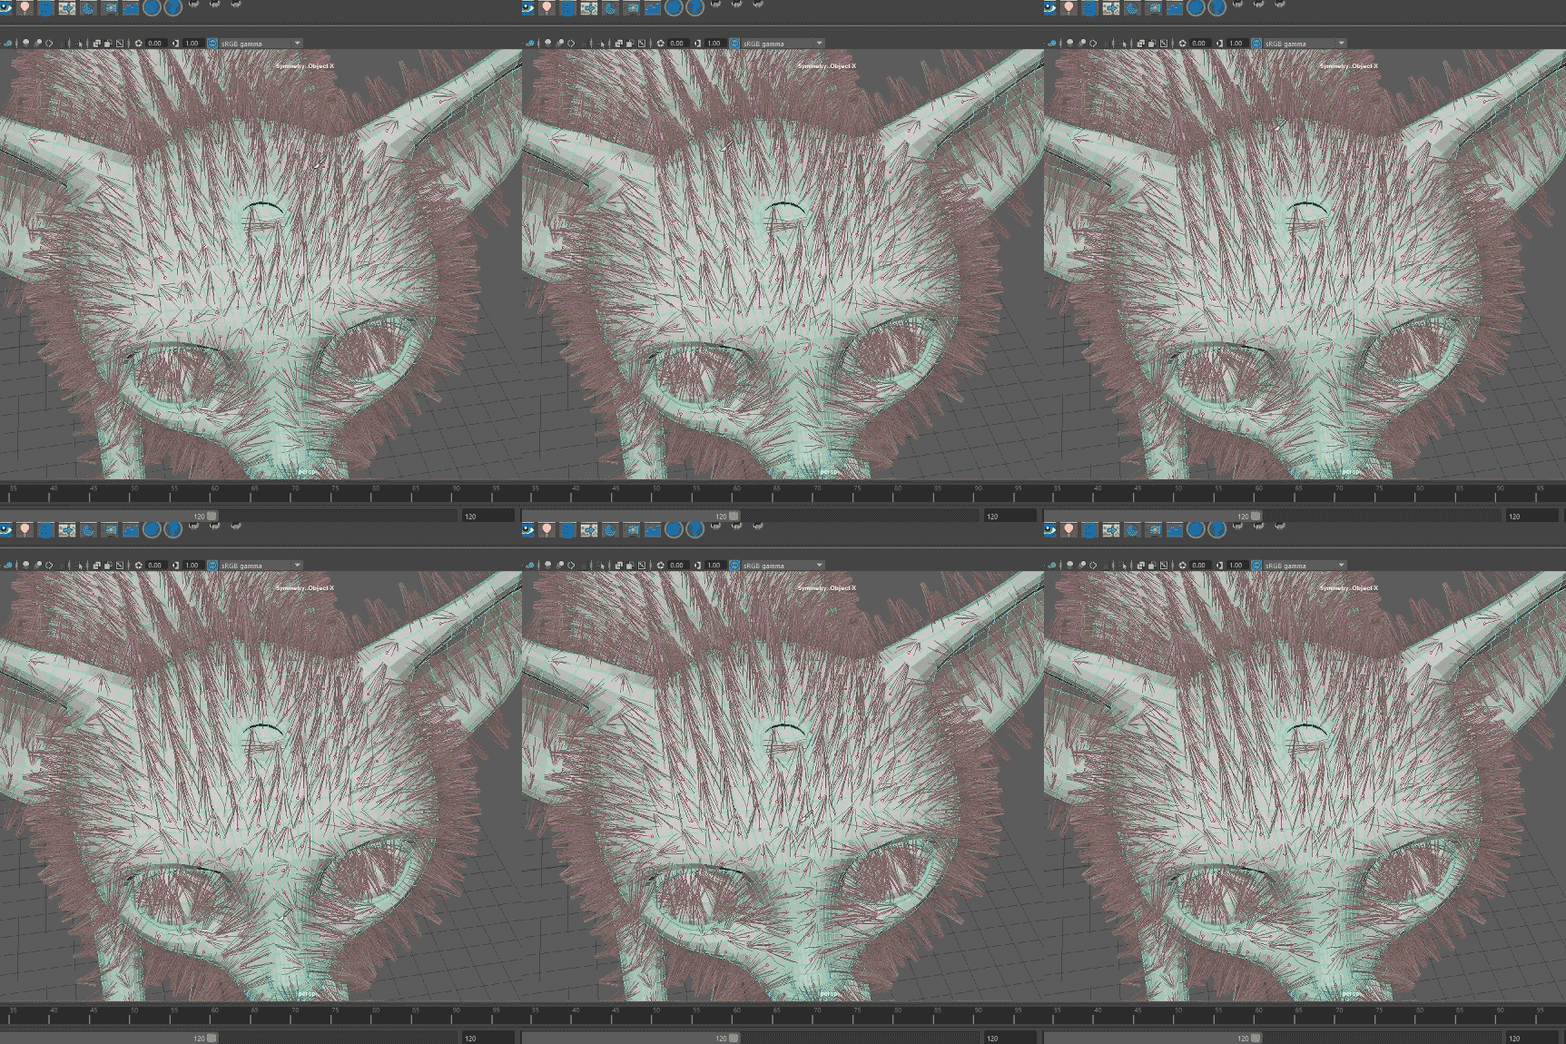
The brush for nHair has always felt a bit unstable. It’s definitely tricky to use. but here are some tips for using it effectively.
The main attributes you will toggle when using the grooming brush are inclination and twist. These are the angle of the hair relative to their normal, and the rotation of the hair, respectively.
